Customer Spotlight: Fairview Garden Center
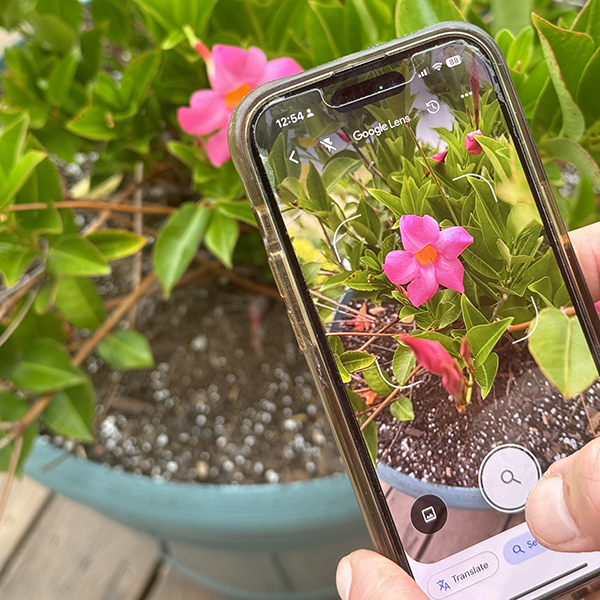
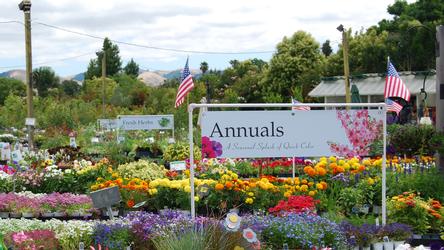
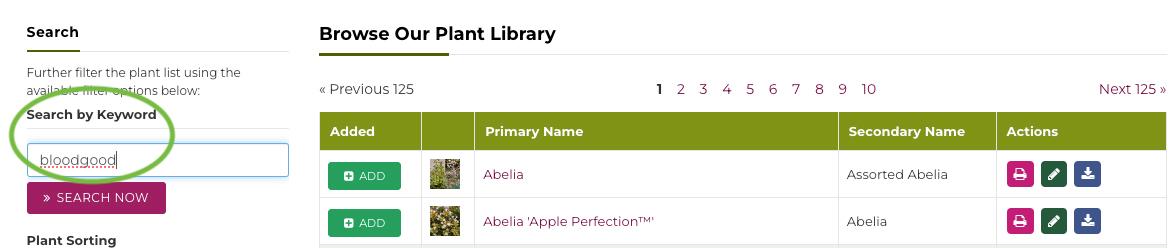
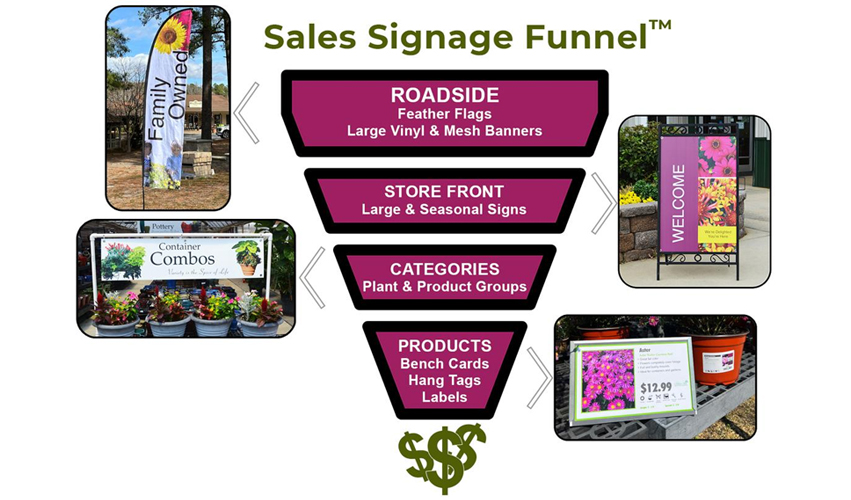
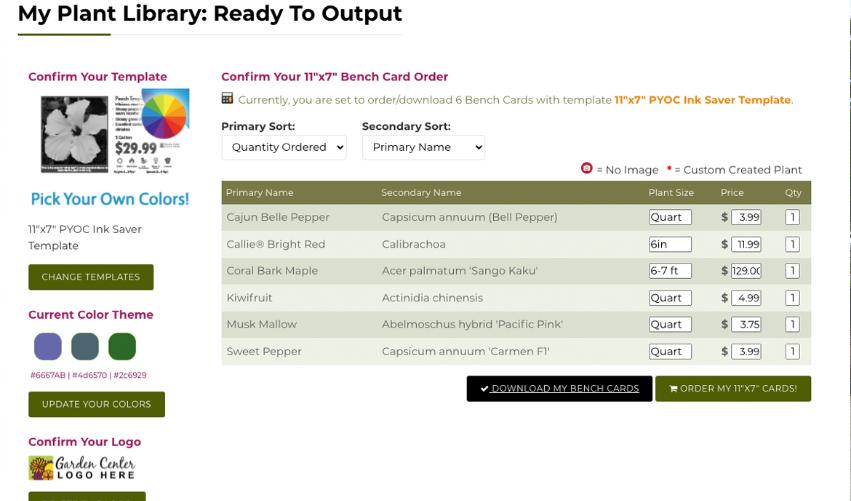
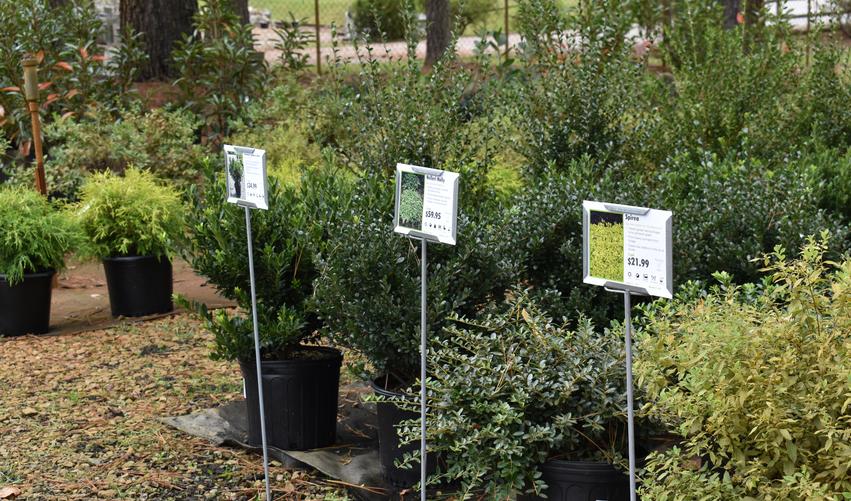
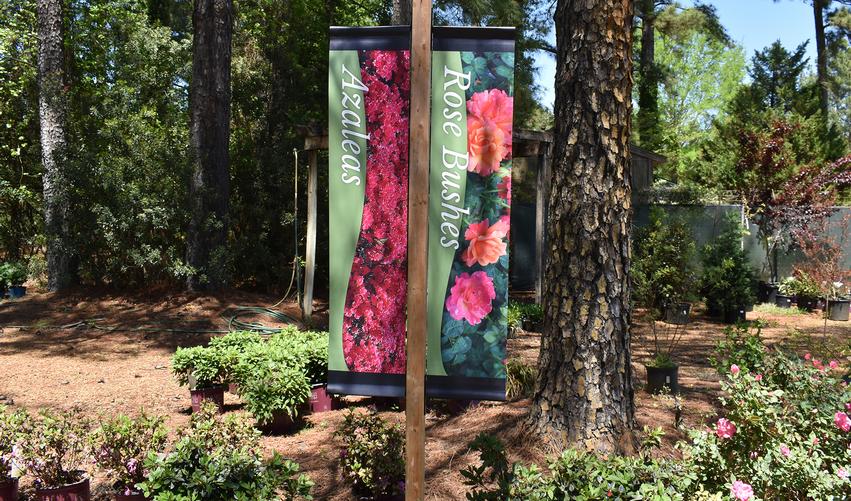
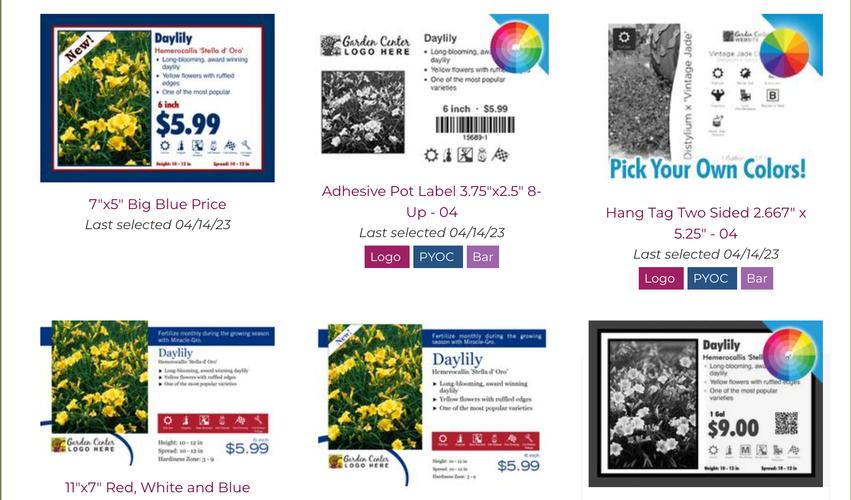
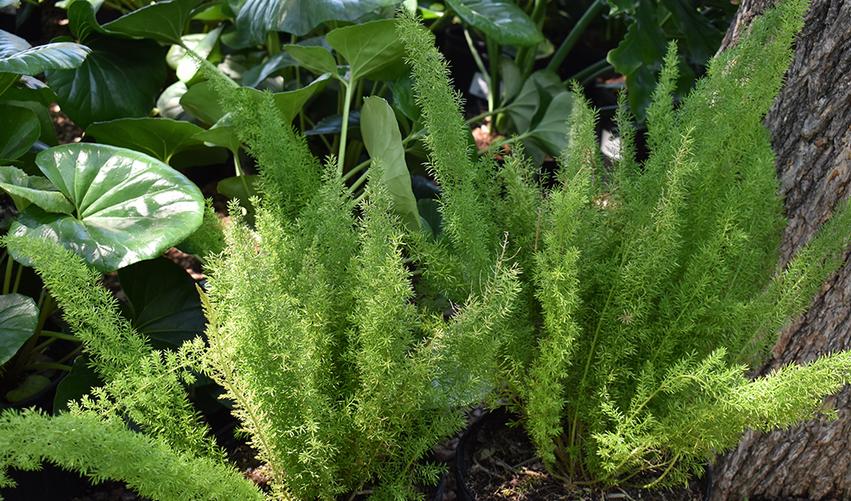
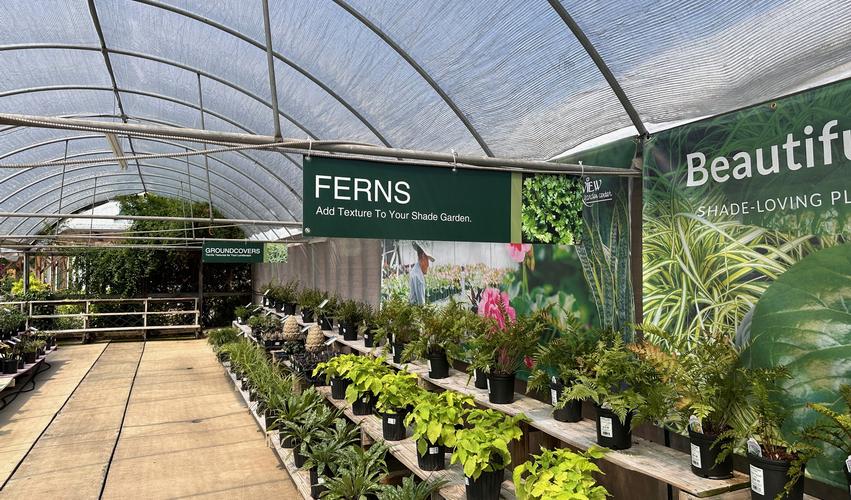
In the bustling environment of a garden center, where customers are surrounded by a myriad of plants and products, effective signage serves as a crucial guide. Fairview Garden Center in Raleigh, NC, exemplifies how thoughtful, cohesive signage can en...
Read more