Multi-Purpose Stake™ Installation Instructions
Our proprietary Multi-Purpose Stake (MPS) is quick to install, even in super tough ground and normally just requires a hammer. Be sure to have the 'Field Goal' posts closest to the plant when you get ready to hammer the MPS into the ground so the faceplate for your bench card can rest on the stake. Our custom faceplate works beautifully on top of the MPS.
Shop Now
-
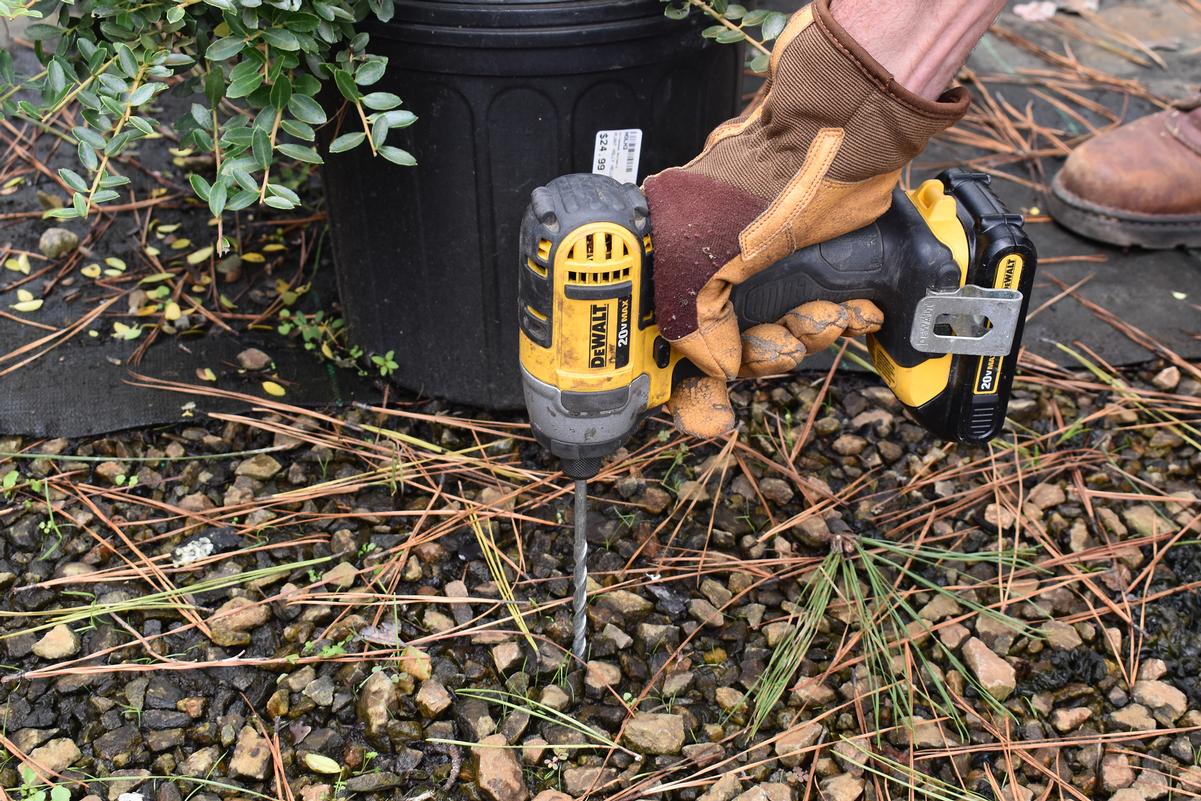
Drill Pilot Hole, IF needed
If you cannot drive the MPS into the ground with a hammer, use an impact or hammer drill and a concrete bit to drill a pilot hole slightly smaller than the diameter of the MPS.
-
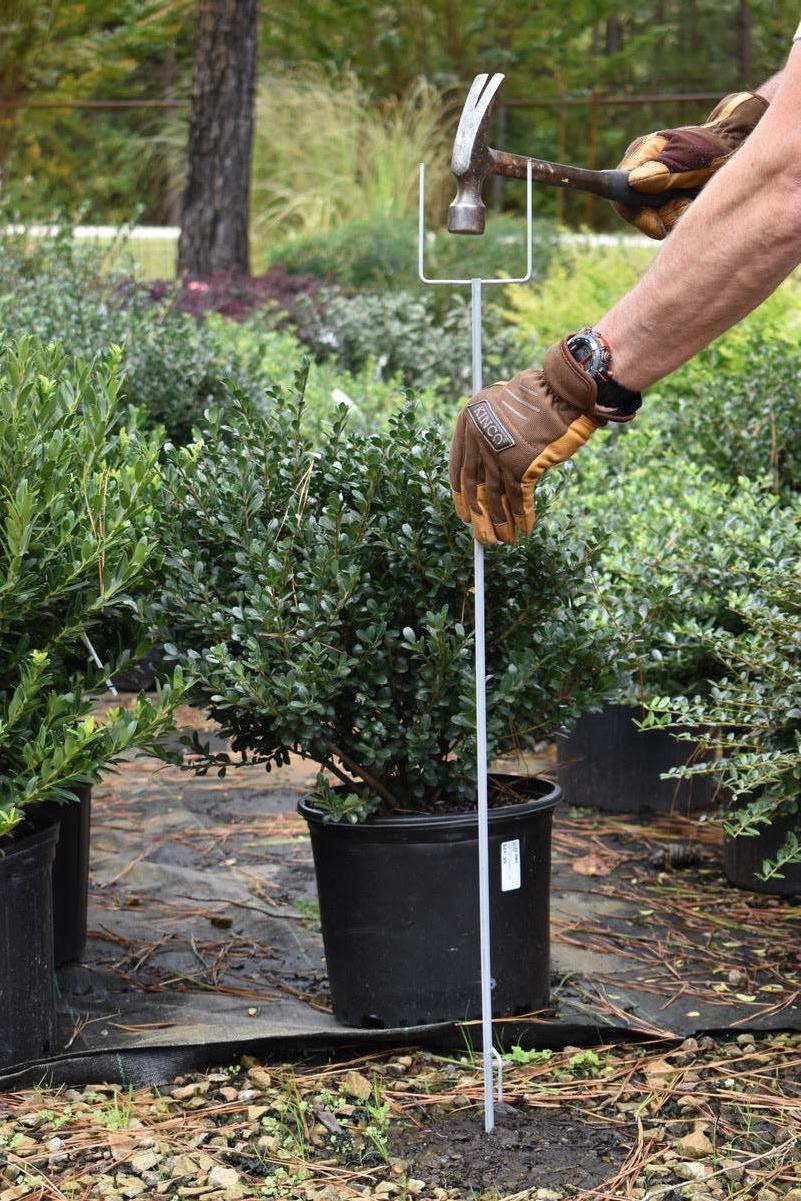
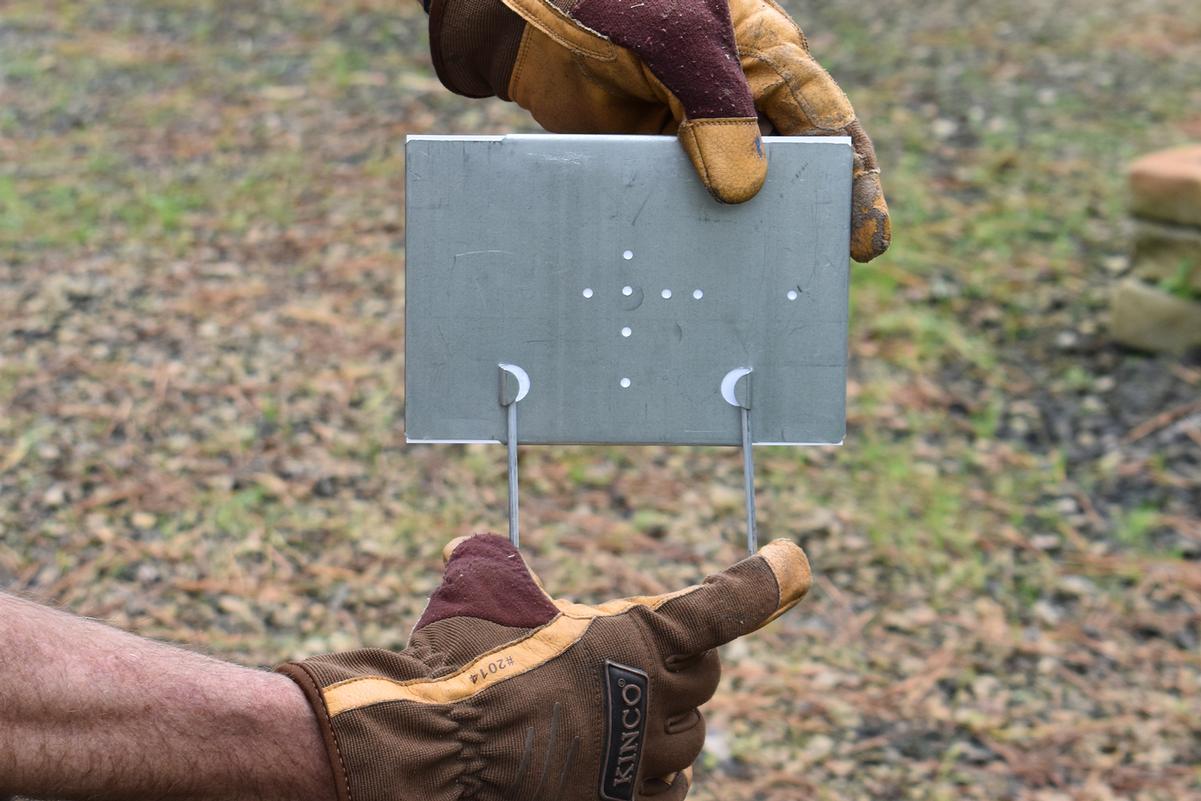
Hammer the MPS straight into the ground.
The stake extends slightly above the crossbar of the 'field goal posts' so you can hammer the stake without damaging the sign support.
-
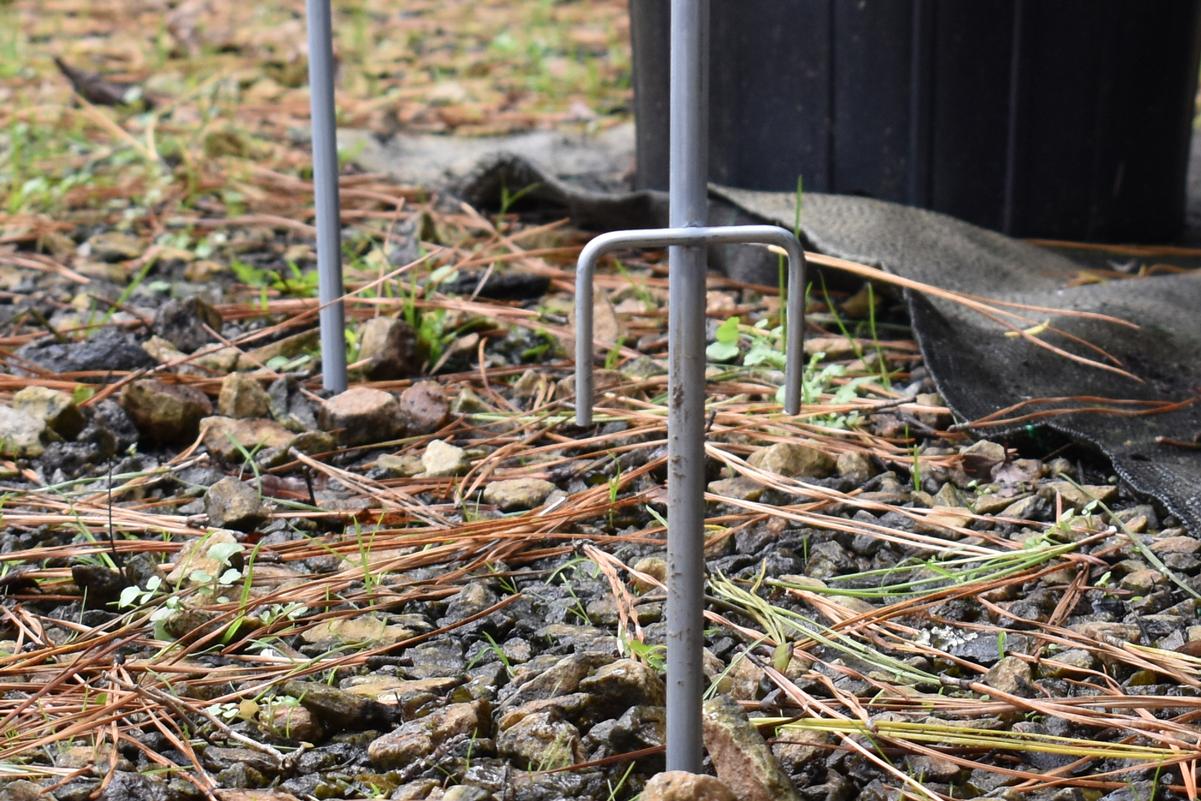
Stop after the stabilizer 'horseshoe' is in the ground.
The stabilizer bar will keep the stake from rotating as well as helping ensure all the signs are at the same height throughout your garden center. Be sure there are no pipes or wiring that would be damaged where you are installing your MPS.
-
Install each MPS in a minute or two
Even if you have to drill a pilot hole, it only takes a minute or two to install each MPS.
-
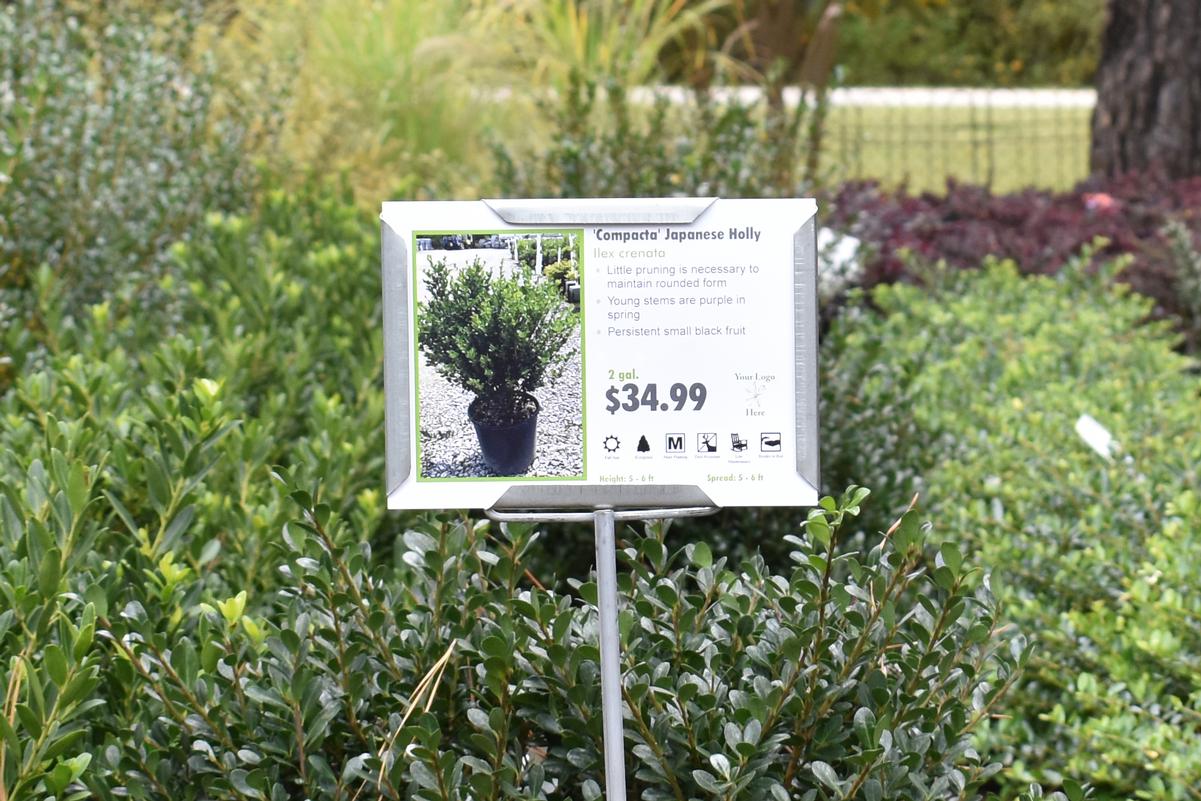
Slide on our Custom Faceplate
Slide the tabs on the back of our proprietary custom face plate over the 'uprights' of the 'field goal posts'.
-
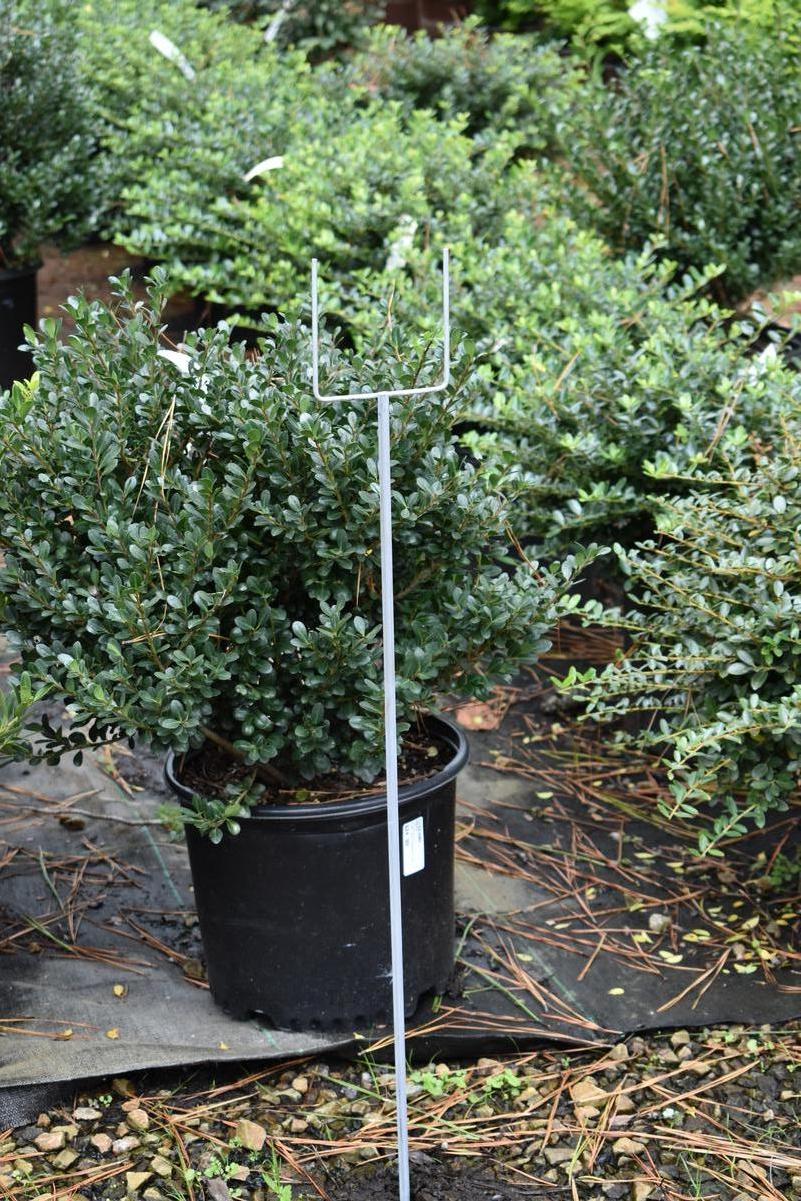
The face plate rests on the top of the stake
Be sure the stake is installed with the field goal posts to the back so the face plate will rest on the stake.
-
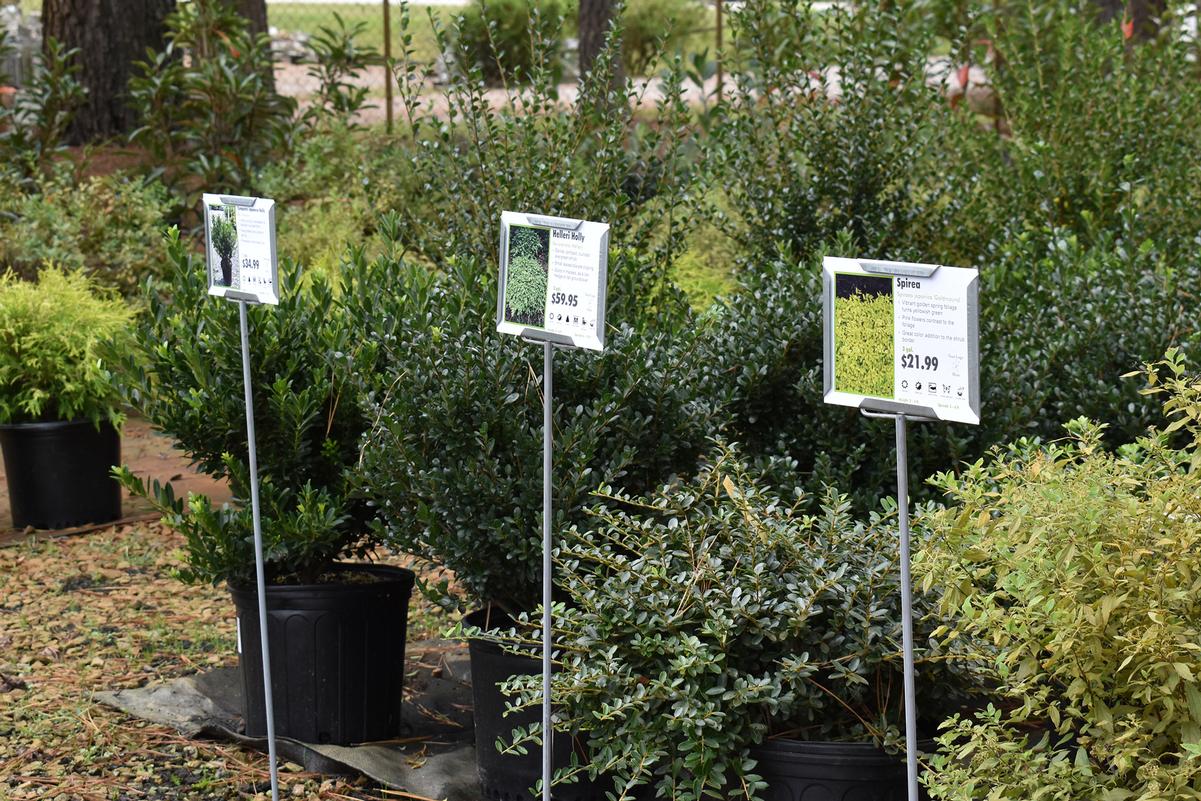
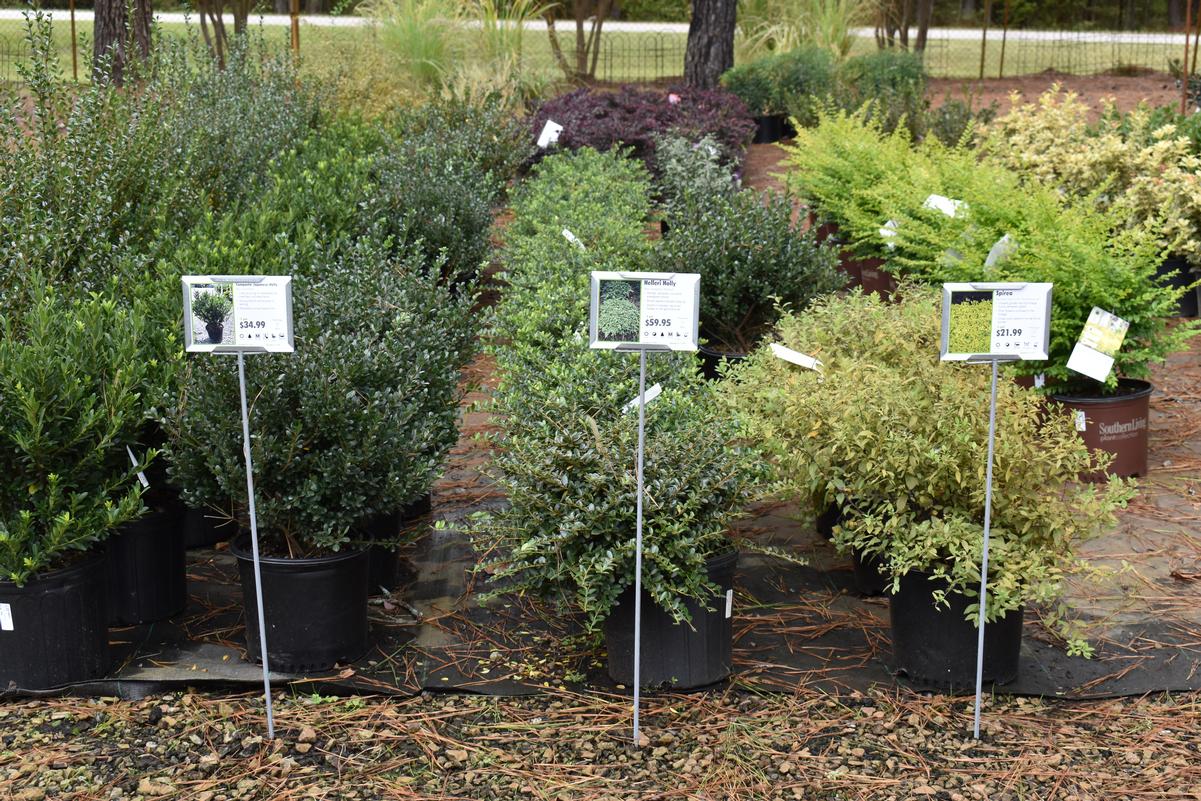
The More the Merrier!
Using the MPS and custom face plate throughout your garden center will help you sell more plants while improving the customer's experience.
-
3 Multi-Purpose Stakes
Once driven into the ground, they provide a clean look with little to no tripping hazard.